HOWTO Setup WebDAV on Mac OS X
Jul 10, 2008
Setting up WebDAV on Leopard
The good news is that all the bits and pieces of software that you need to run a WebDAV server on Mac OS X 10.5 Leopard are already installed. You only need to configure them correctly and turn them on. Some experience with Terminal is preferred, and you should be familiar with executing UNIX commands. Let's start!
- Start Apache. (If you haven't already) You will need to enable Web Sharing, since the WebDAV service will be provided by Apache, the web server on Mac OS X. You do not necessarily need to have a web site running, but you will need to activate and run Apache. Go to System Preferences > Sharing, and turn on the box labeled
Web Sharing .

- Enable WebDAV support in Apache. Edit the file
/etc/apache2/httpd.conf, (remember to usesudoto edit it) and locate this line:LoadModule dav_module libexec/apache2/mod_dav.so
Make sure it is not commented (there should be no "#" at the beginning of the line.) Then locate this line (towards the bottom of the file):
Include /private/etc/apache2/extra/httpd-dav.conf
Again, make sure it is not commented out. It is disabled by default, so you need to remove the "#" from this line.</li>
- Configure WebDAV. Next, edit the file
/etc/apache2/extra/httpd-dav.conf. Add a section in it to create our new WebDAV share. Here's what the new section should look like. As a security precaution, you should also go ahead and delete the/usr/uploadsshare that is set by default.Alias /webdav "/Library/WebServer/WebDAV" <Directory "/Library/WebServer/WebDAV"> Dav On Order Allow,Deny Allow from all AuthType Basic AuthName WebDAV-Realm AuthUserFile "/usr/webdav.passwd" <LimitExcept GET OPTIONS> require user YourUserName </LimitExcept> </Directory>On line 1, the name following the Alias keyword is the URL you'd like for your new WebDAV share. If you want the share to be located at
https://your-server-name/your-fancy-webdav-share, then line 1 should read:Alias /your-fancy-webdav-share "/Library/WebServer/WebDAV"
On line 9, we specify the authentication scheme as
Basic, notDigest. The security conscious will note that this sends unencrypted passwords over plain text. In my tests, OmniFocus was not able to communicate with the server with the Digest authentication scheme. Remember not to use a particularly important password for this account.On line 14, substitute the username you would like to use for your WebDAV account. Note this down, because you will need this again in the next step.
- Create user accounts and passwords. Use the
htpasswdtool to create your password file.sudo htpasswd -c /usr/webdav.passwd "YourUserName" New password: Re-type new password: Adding password for user YourUserName
- Create the necessary directories.
sudo mkdir -p /Library/WebServer/WebDAV
sudo mkdir -p /usr/var
- Setup permissions correctly.
sudo chown -R www:www /Library/WebServer/WebDAV
sudo chown -R www:www /usr/var
sudo chgrp www /usr/webdav.passwd
- Restart Apache gracefully.
sudo apachectl graceful
- Test your server. Optionally, you can test your WebDAV configuration using litmus, a WebDAV server test tool. It is distributed as source code with no binaries, so you will need to compile it first, for which you will need Apple's Developer Tools. You can test your server manually by using a graphical client such as Goliath. Try uploading a file and see if you can access it again. </ol>
The locks could not be queried for verification against a possible "If:" header.
No such file or directory: Could not open property database
The web server is not able to access the password file. In our example, you need to ensure that/usr/webdav.passwdcan be read by the Apache user,www. To do that, run the following chmod command.</p>sudo chgrp www /usr/webdav.passwd
Client used wrong authentication scheme: /webdav/
You probably set the Authentication scheme toDigestinstead ofBasic. Try changing toBasic. Also note that you need to regenerate the password file usinghtpasswdinstead ofhtdigest.
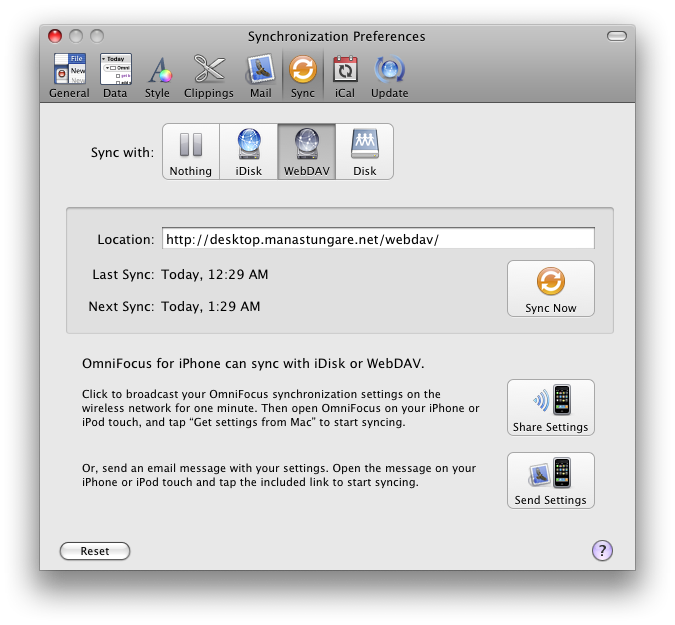
That's it, you can now point OmniFocus to https://your-server-name/webdav and provide the credentials you created earlier. With this setup, you will immediately be able to access your WebDAV server over your local network. If your machine has a static public IP address, you will also be able to sync from outside your local network.
If, on the other hand, your machine is behind a router, you will need to configure port forwarding on your router. If you do not have a static IP, you will need to set a dynamic hostname via services like DynDNS.
Possible Error Messages
This is by no means a zero error configuration, and sometimes things might go wrong. Here are some of the common error messages and how to fix the relevant errors:
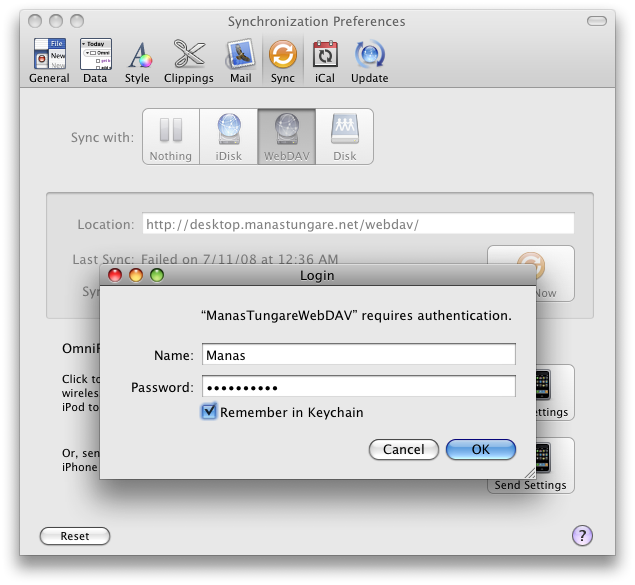
OmniFocus and WebDAV
To use WebDAV with OmniFocus, simply configure it as in the screenshots below.
A hat tip to Vivek for helping test these instructions on a clean Leopard installation.